Video Version
For web developers MacOS or Linux were so much better options in regards to web development environment. Everything was more complicated with Windows and not as enjoyable as with the other operating systems.
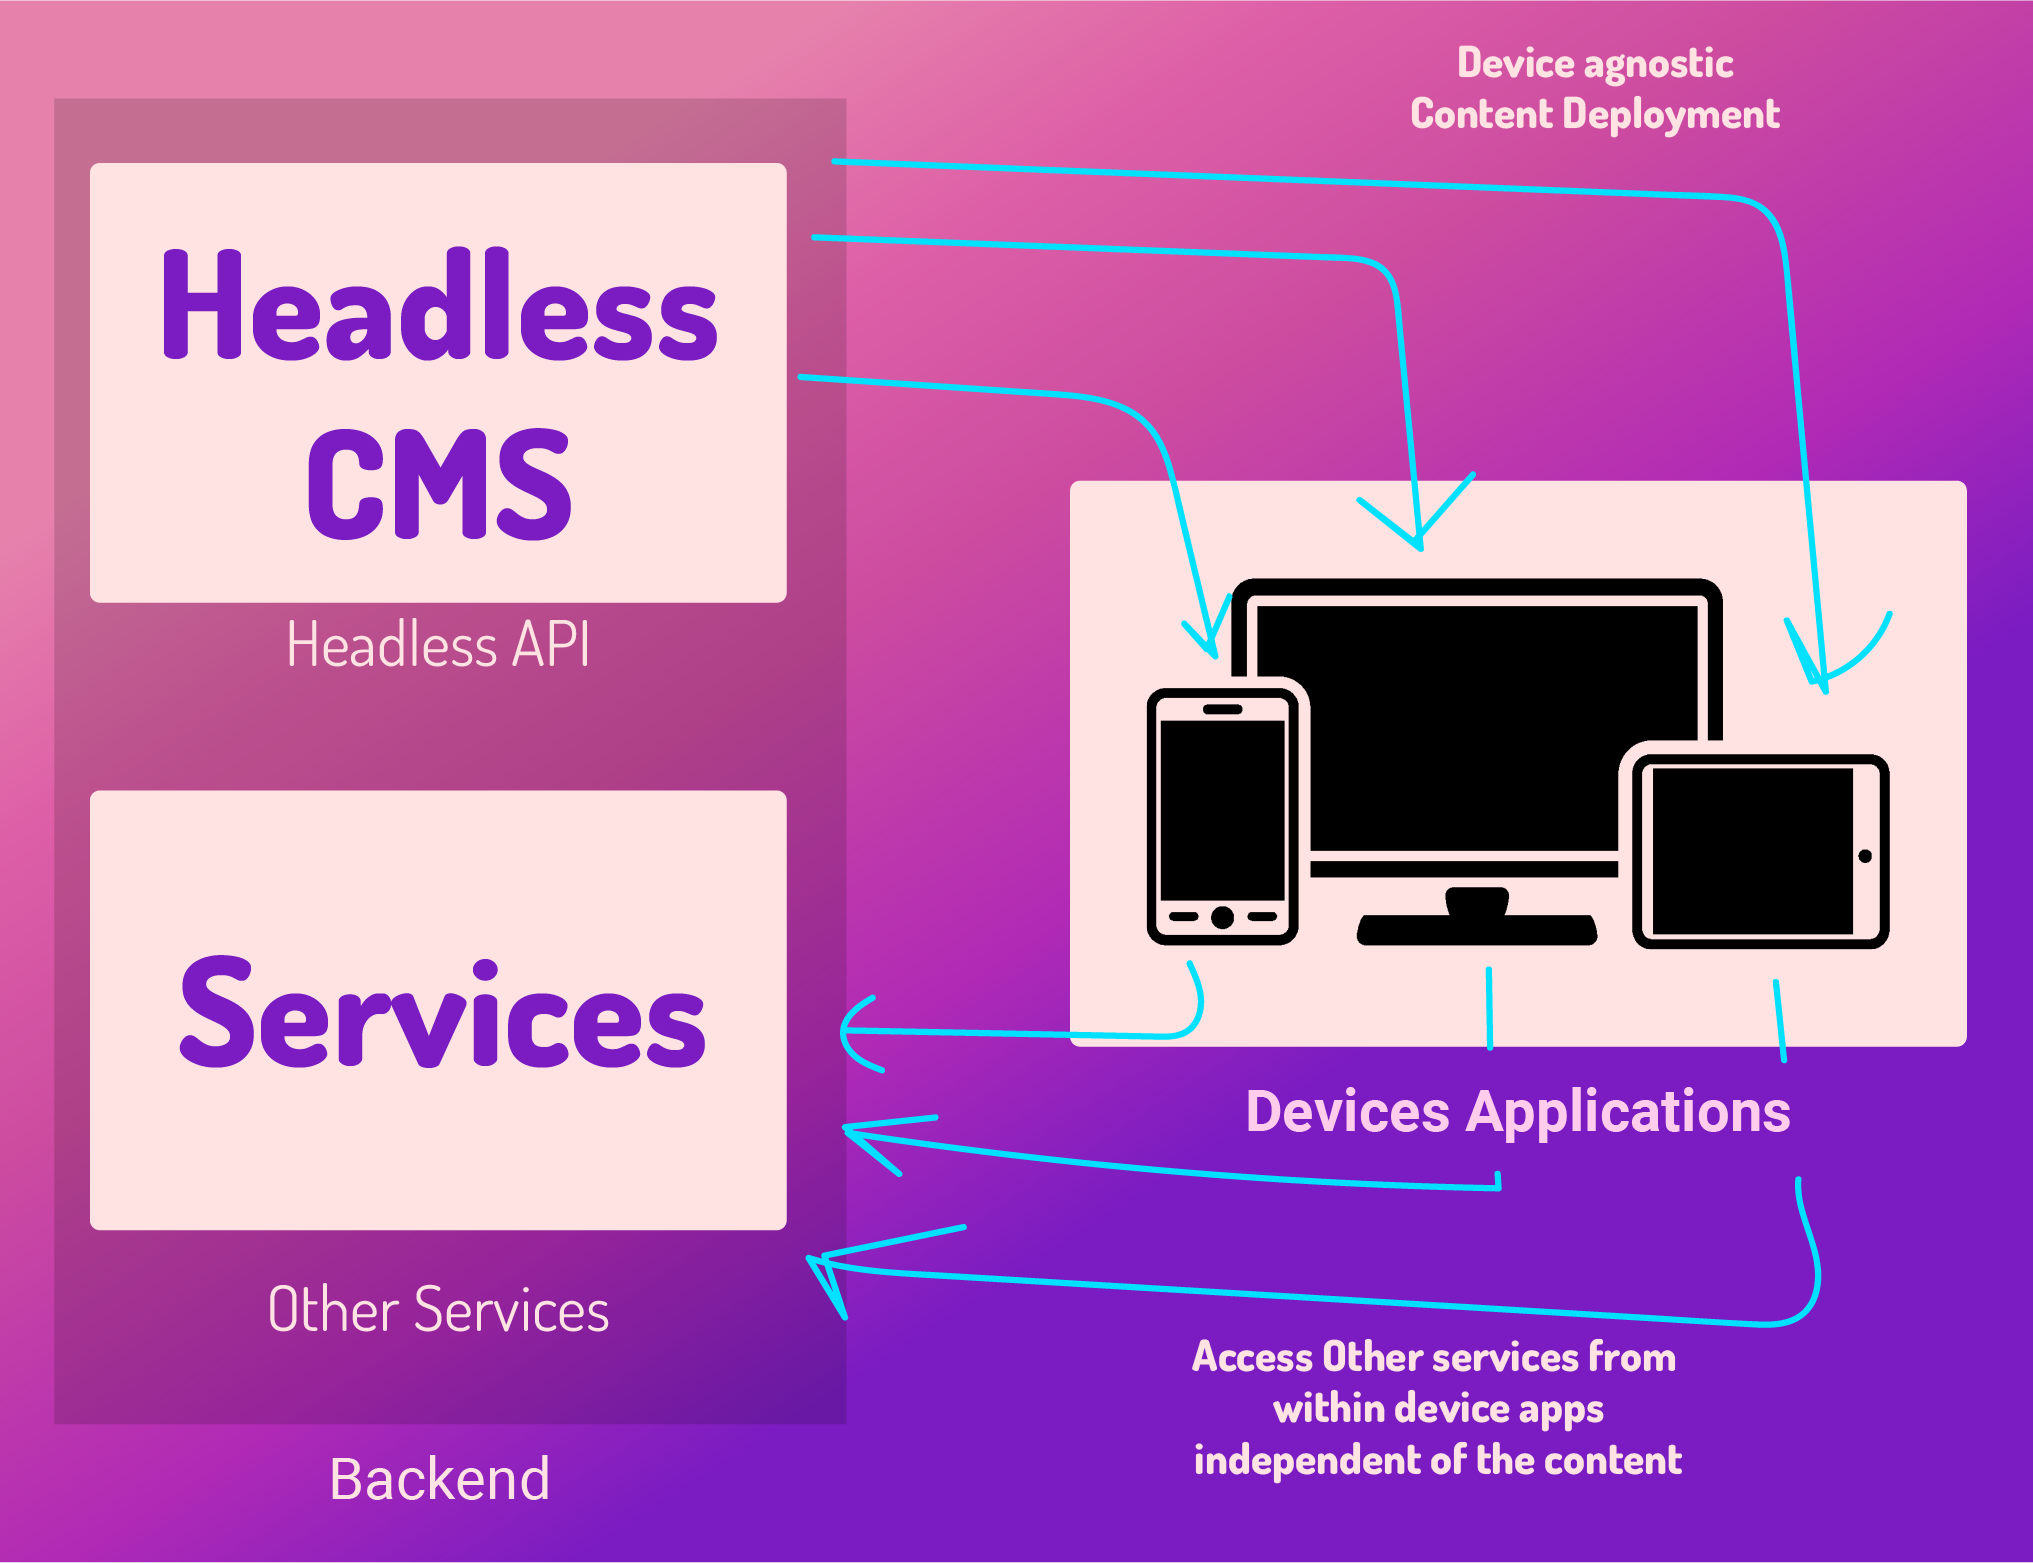
With WSL 2 (Windows Subsystem for Linux) is not the case anymore. Let’s get our hands on creating the ultimate web development setup using Windows and WSL2.
1. Install Windows Terminal
If you are using Windows 10, first thing we need to do is install the new Windows Terminal. On Windows 11 it comes preinstalled by default.
In order to install it, open Microsoft Store and search for Windows Terminal

Windows Terminal is a great new application from Microsoft that you can use to open multiple terminal types, from Command Prompt to Powershell and linux distributions installed under WSL.
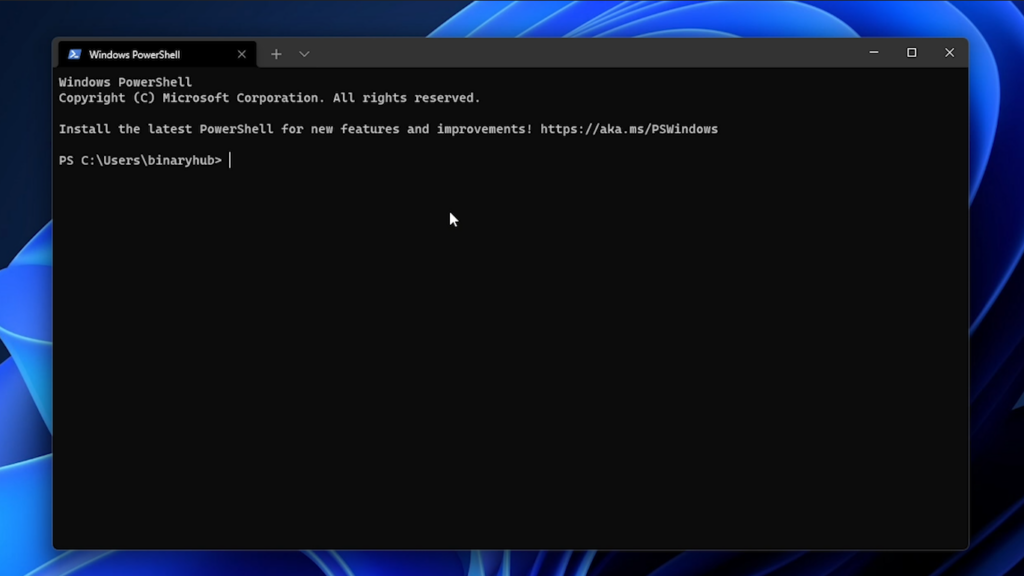
After installing it, open the application. It will open by default the Powershell Terminal.
2. Install Linux
The supported Linux distributions are:
- Ubuntu;
- Debian;
- Kali-linux;
- OpenSUSE-42
- SLES-12
In order to see the full list of available distribution versions, we need to run in our Powershell Terminal the following command:
wsl --list --online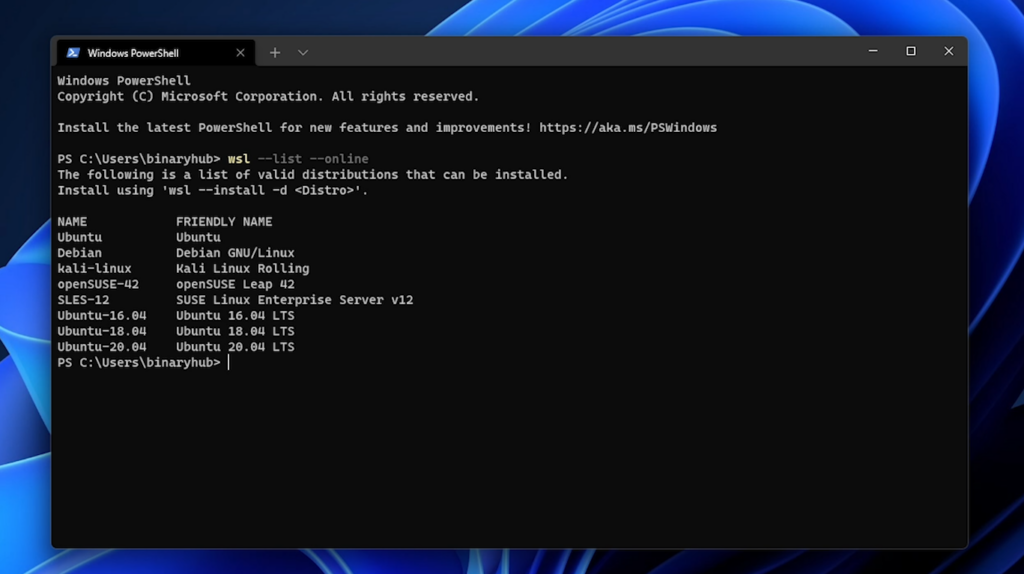
What I personally like to work with is Ubuntu version 20, choosing it as the candidate for today’s tutorial.
In order to install we need to run the following command in our terminal
wsl --install -d Ubuntu-20.04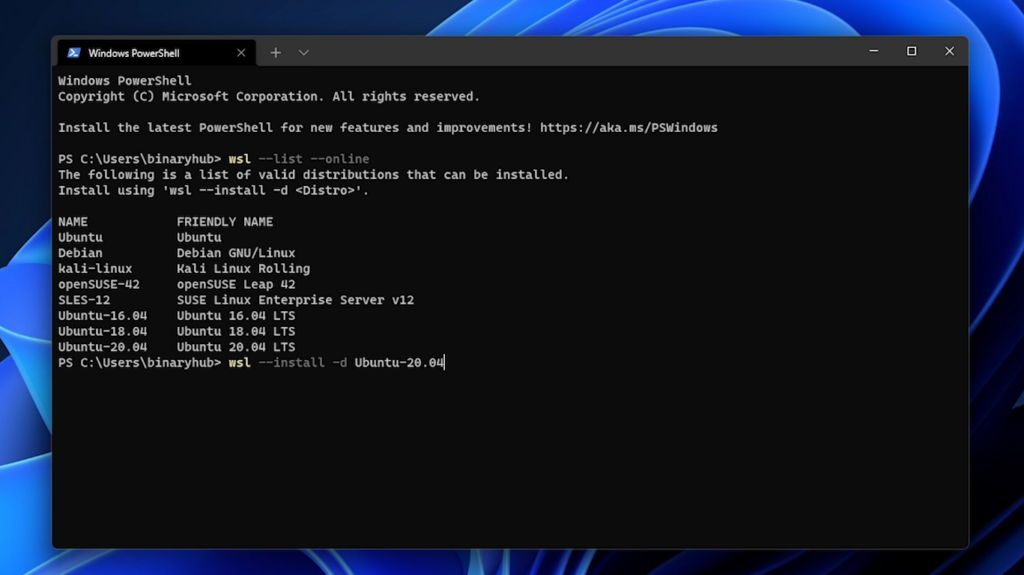
Breaking down the command:
–install flag is self explanatory, it is the command to install
-d is coming from distribution which should match exactly the name of the chosen version from above list.
After successfully installed, a new terminal window will pop-up from Ubuntu asking to enter UNIX username and password.
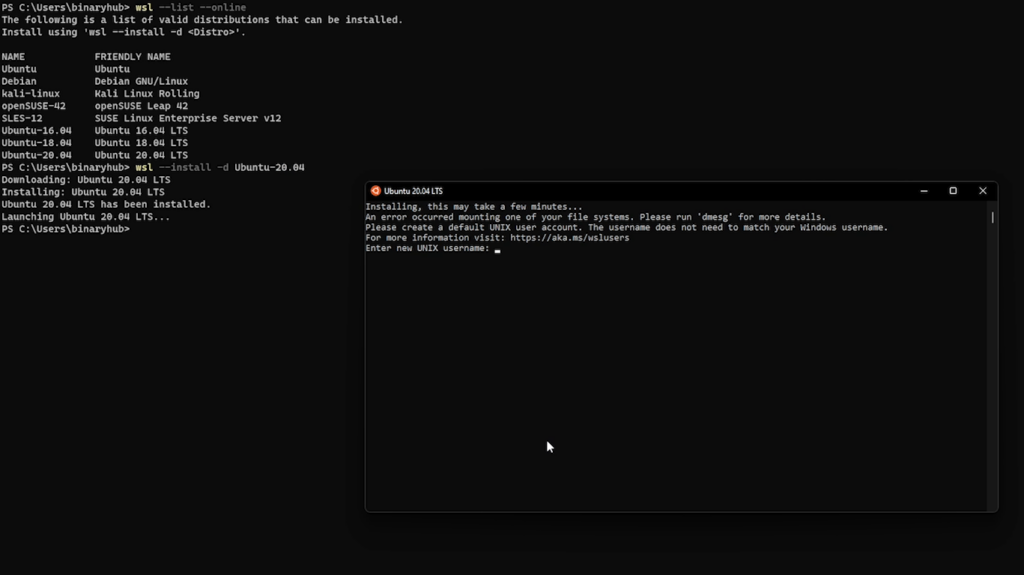
The username will be the exact home directory created for your user. In our case if we set binaryhub, our home directory will be /home/binaryhub
Password is required because whenever we need to run administrative commands (sudo commands) we need to prove that we have access to do those actions which might jeopardize our system.
After successfully setting username and password, you will be redirected to your home directory. Let’s close the newly opened Ubuntu window and open it instead for Windows Terminal for a much enriched experience.

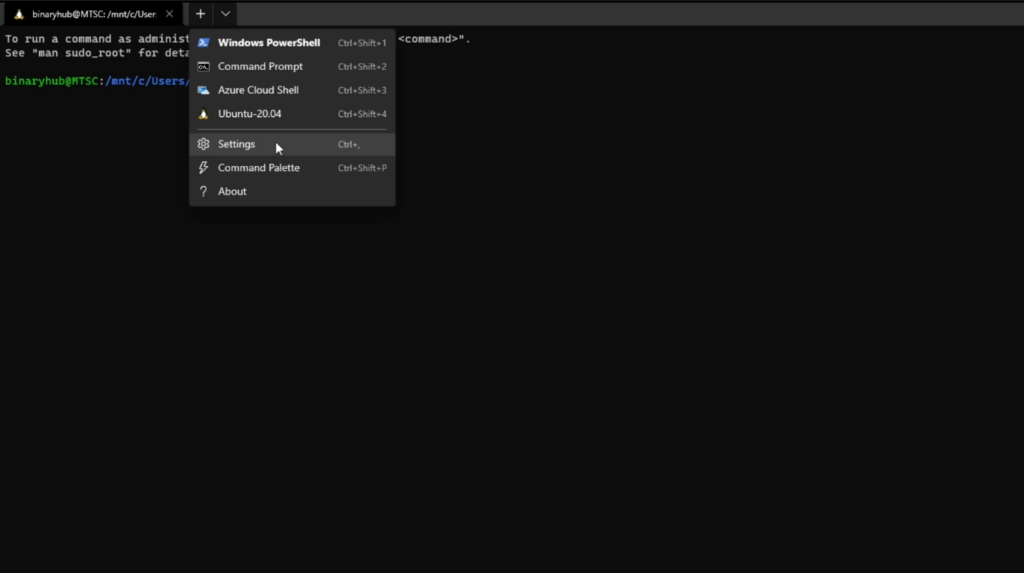
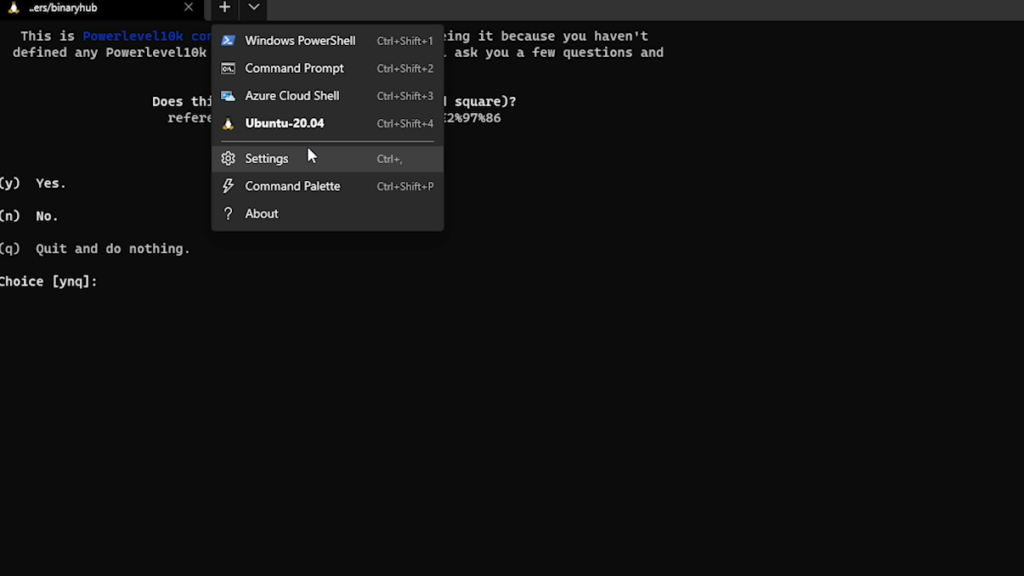
If you click on the top bar arrow icon, a new dropdown appears with all the terminal options available for us to Open. Our newly created linux instance is added automatically to our terminal. Restarting the windows terminal might be required in order for newest installation to appear

It looks pretty nice already, we have some colors available. But we can do so much better. Let’s take a step further and enhance the experience to a whole new level using zsh, ohmyzsh, powerlevel10k theme and more.
Before that, let’s go to Settings and set our Windows Terminal as default terminal application. To open Settings, click the top bar arrow -> Settings.
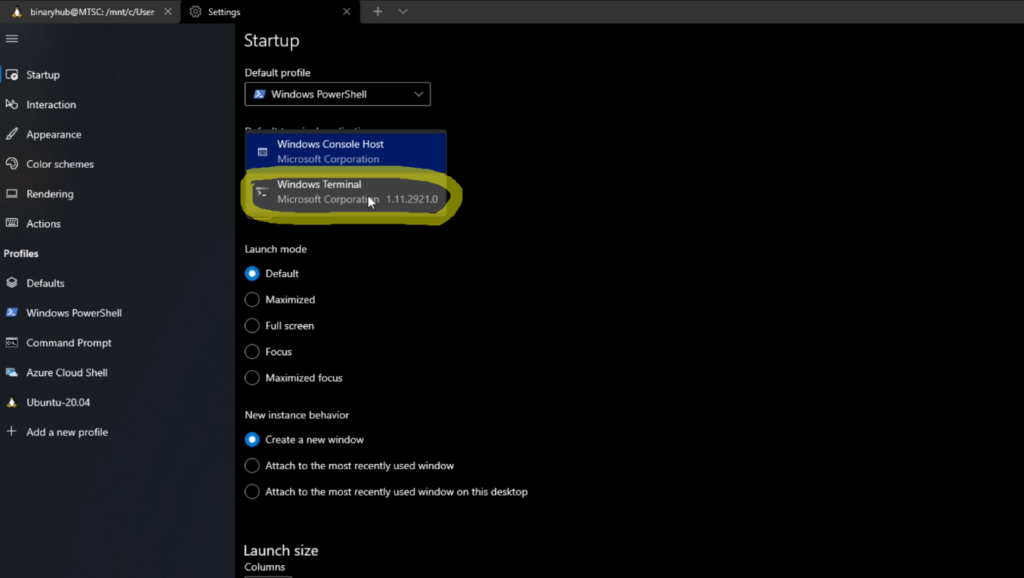
The next default setting we need to do, is to set our default profile to the newly installed Ubuntu. We are setting this in order to have by default opened the Ubuntu terminal whenever we open Windows Terminal. No more Powershell.
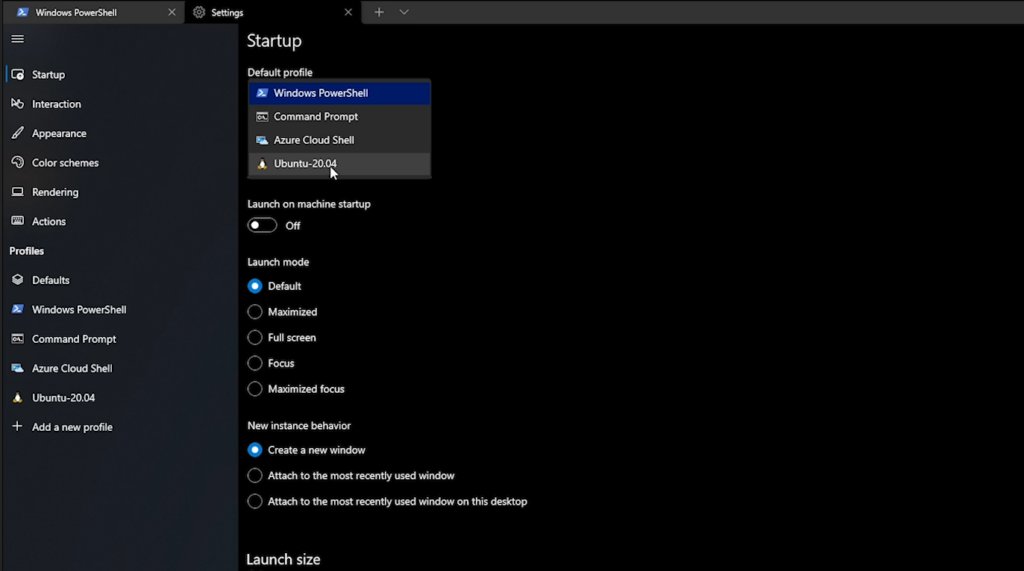
Click Save button on the bottom right hand corner of the window. Now whenever we click the “+” sign on the top bar, it will trigger the Ubuntu terminal.
3. Install zsh shell
Setting up the terminal is the first step to a better experience as a web developer. Now we need to enhance it using zsh shell.
Under Ubuntu terminal type in the following command:
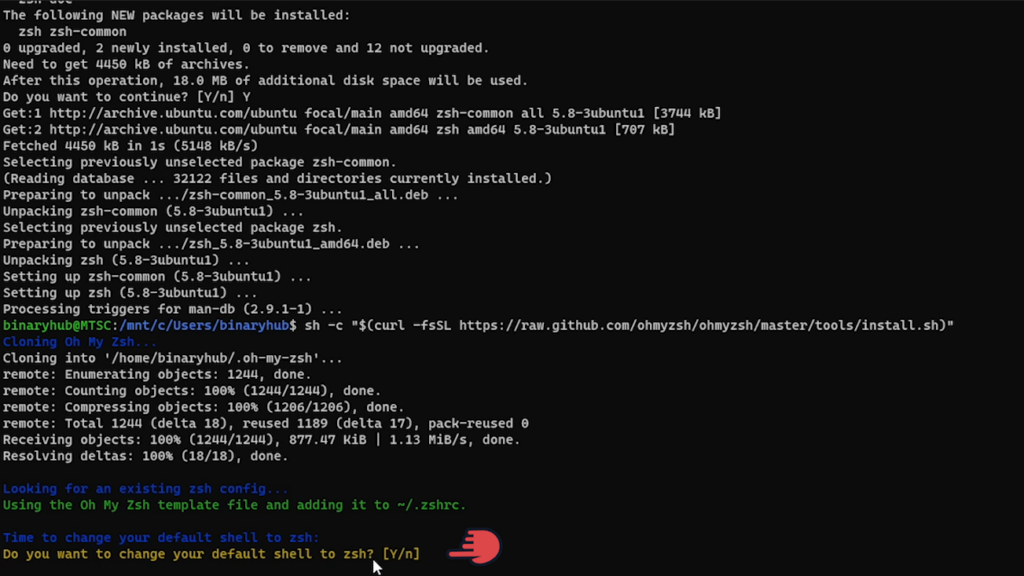
sudo apt-get install zshInstall oh my zsh
Oh my zsh is an open source, community-driven framework that makes configuring zsh a bliss.
To install it, type in the following command
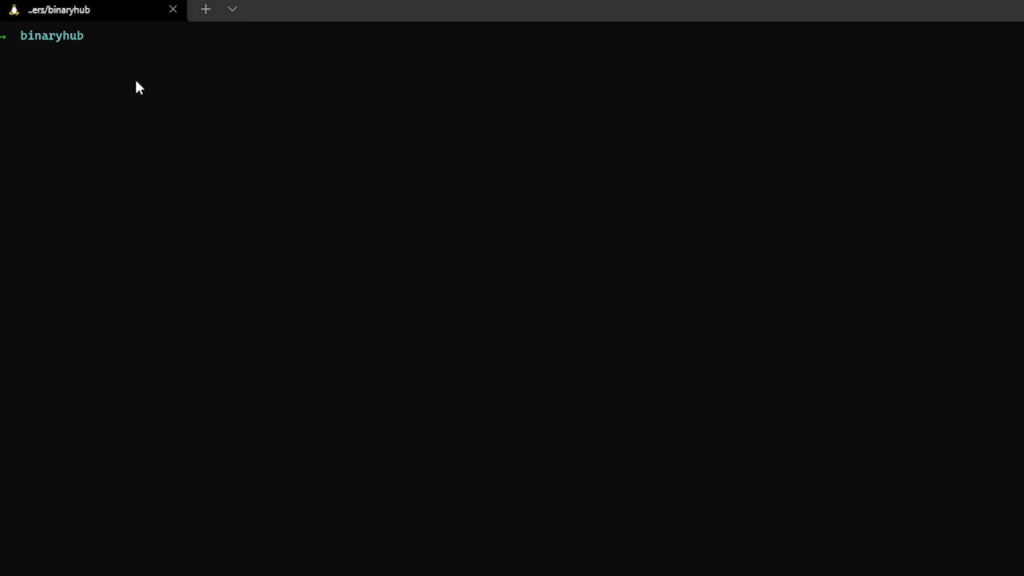
sh -c "$(curl -fsSL https://raw.github.com/ohmyzsh/ohmyzsh/master/tools/install.sh)"Upon successful install, the cli will ask you if you prefer zsh as your default shell. Enter Y
After confirming, the default shell was changed. Open a new tab and notice that it already started to look a bit better:
When opening up the terminal, it will have as default directory set the Windows path which is /mnt/c/Users/<username>. Having to change the directory to linux user’s home is not a very productive. The home directory in linux for each user is /home/<username>
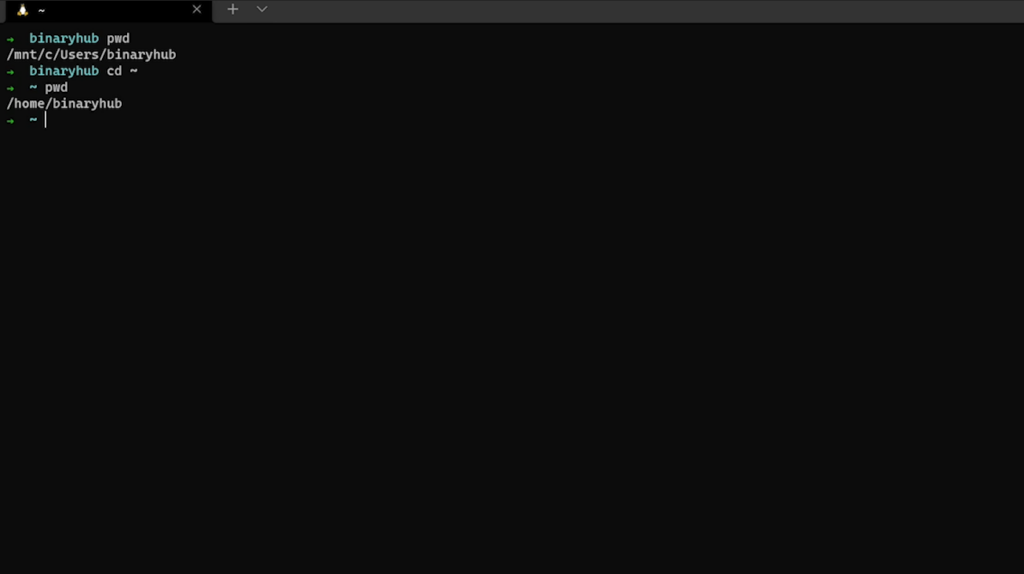
What I like to do is have all projects under my linux home directory, inside a projects folder. We can start on this directory each time we open the terminal by editing zsh configuration file and adding inside the command cd /home/<your_username>. You can also use any other editor you are feeling comfortable with.
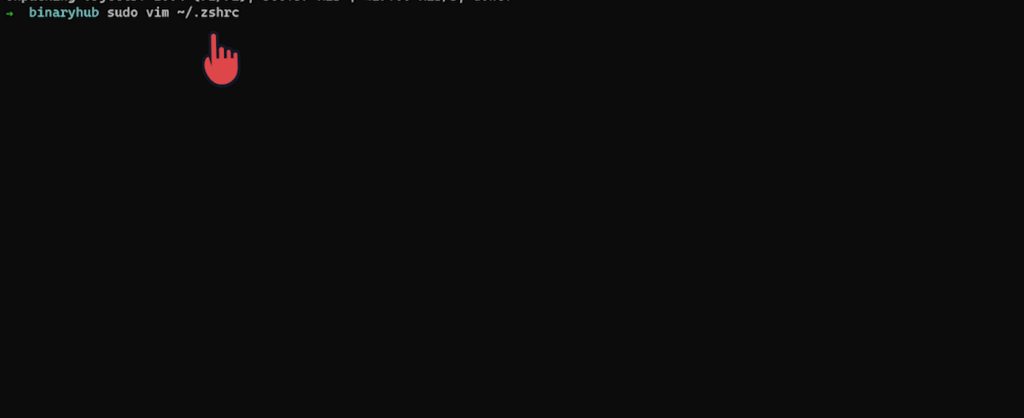
vim ~/.zshrcAdd the following command as last line in the opened file:
cd /home/<your_username> as last lineAdding as last line is not required, you can add it anywhere
4. Install PowerLevel10k theme
Our terminal looks better now. We can make it also more helpful by choosing a theme, and for this tutorial we’ll choose one of the best: Powerlevel10k.
Here is a sneak peak at it. Head over to this theme’s Github Project. This theme brings many enhancements: showing our current path clearly, icons inside the terminal, showing time and our current git branch inside a project.

To install it simply type in the next command:
git clone --depth=1 https://github.com/romkatv/powerlevel10k.git ${ZSH_CUSTOM:-$HOME/.oh-my-zsh/custom}/themes/powerlevel10k
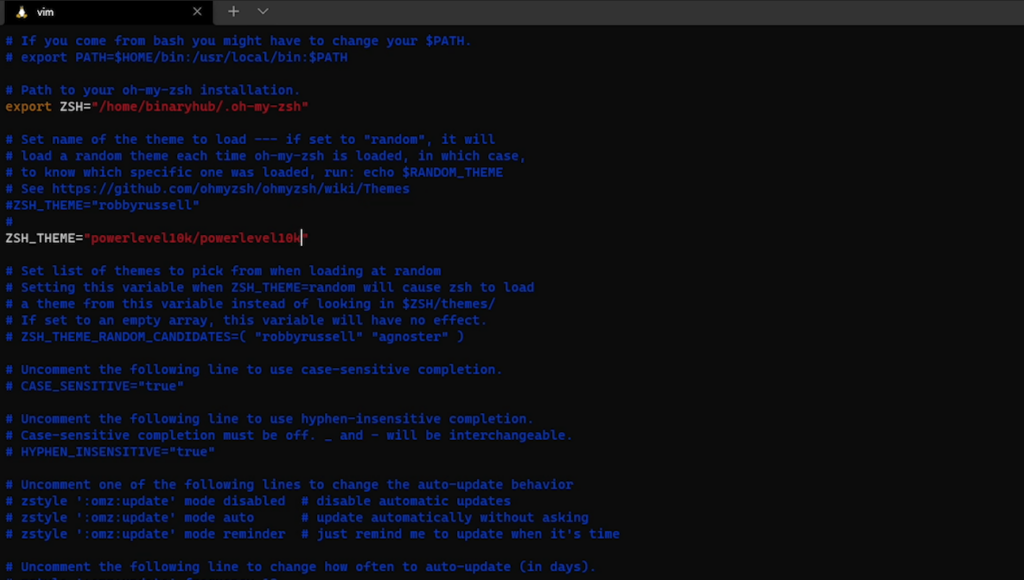
Next we need to specify our zsh shell to use the newly installed theme. Edit the configuration file using vim ~/.zshrc (or any other text editor that you are familiar with) and update the ZSH_THEME to the new theme: powerlevel10k/powerlevel10k
For our theme change to take effect, we need to open a new terminal tab or type in the current terminal source ~/.zshrc which will refresh the current one to the latest configuration changes.
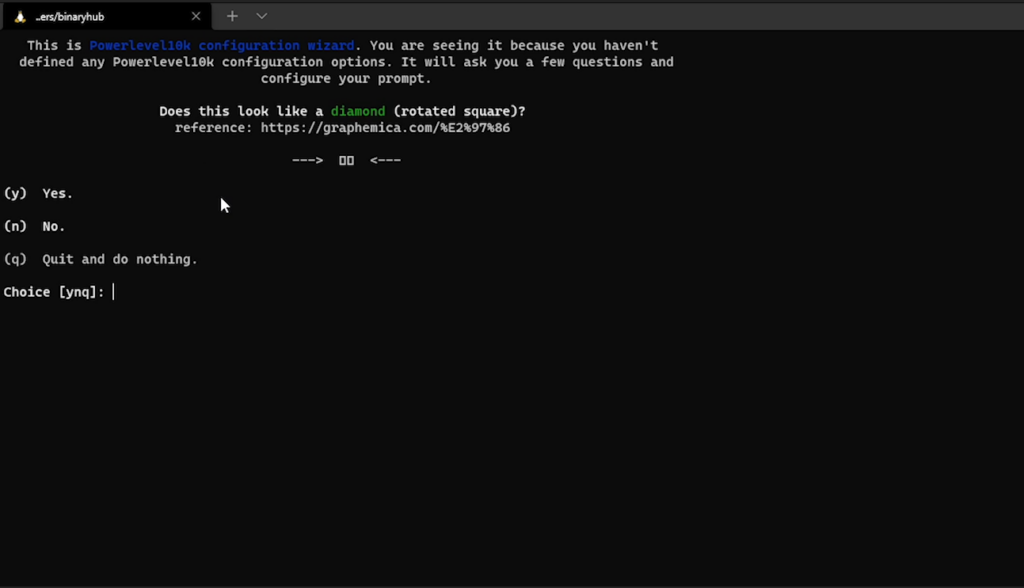
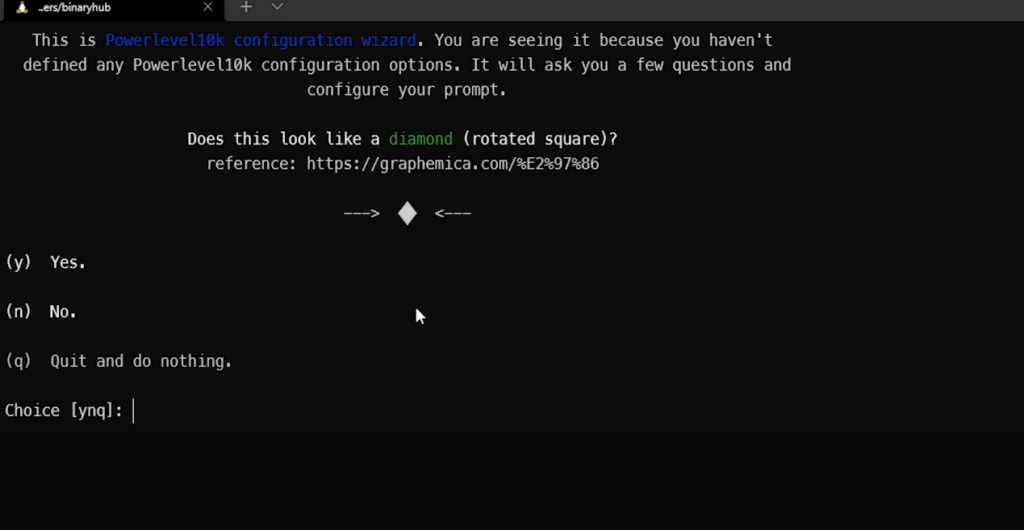
Upon opening a new terminal, something different happened. We are welcomed with the configuration steps for our newly added theme. Don’t worry, this only appears once after setting it up.
In the first step it asks us if we can see a diamond and we see 2 squares. This is because we don’t have a font that supports icons.
Let’s fix this.
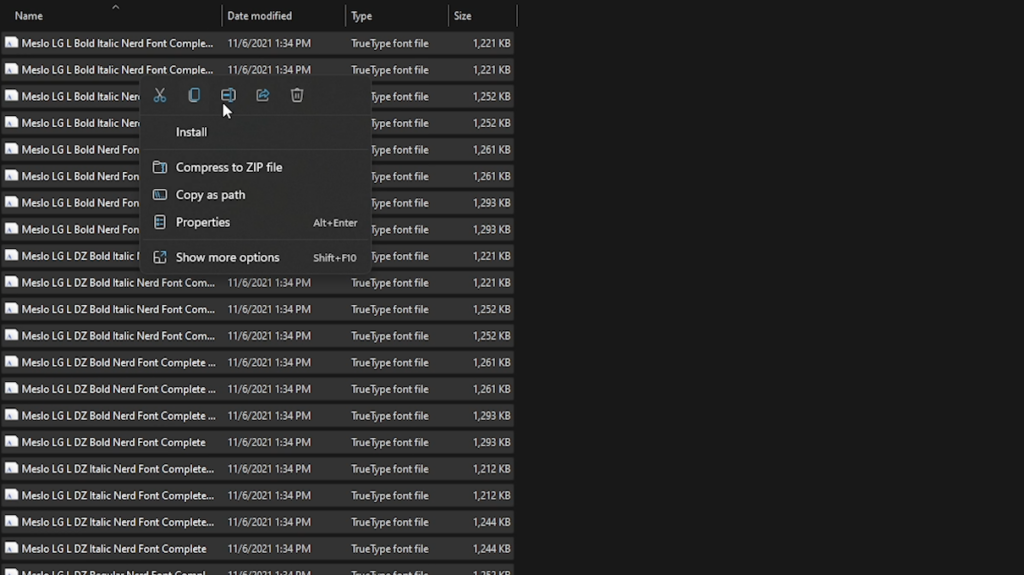
The font that we are going to install as part of this tutorial, being the one I totally recommend, is called Meslo from the NerdFonts collection.
Note: We are installing the fonts on Windows and not on Linux.
You can see the full list of fonts available here. Scroll down to Meslo.zip and click on it. Once downloaded, open the zip file and extract them to any folder you want to.
After extracting the fonts, you can select all > right click > Install.
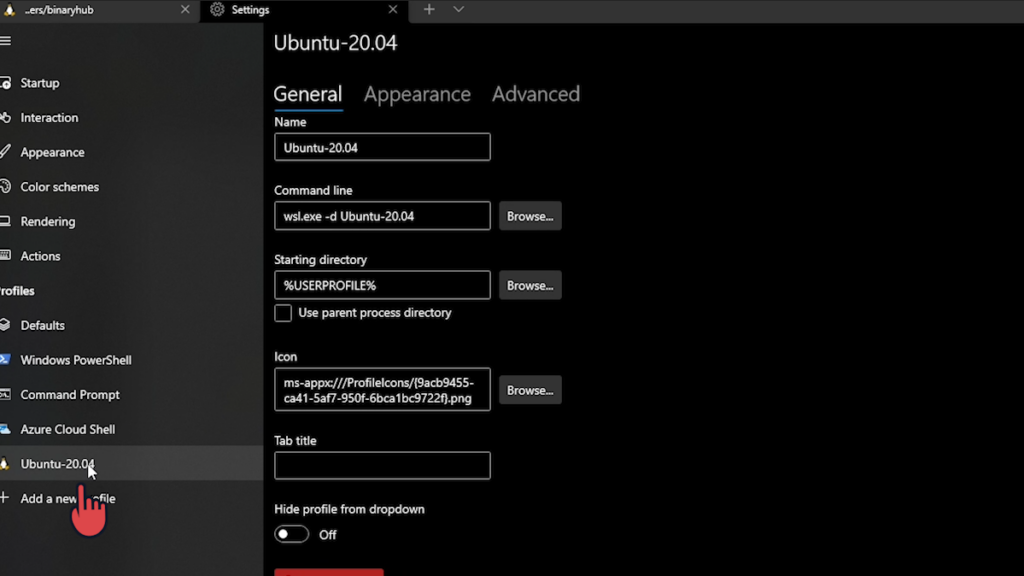
Once installed, close and reopen the windows terminal and go to terminal Settings:
Select Ubuntu Distribution:
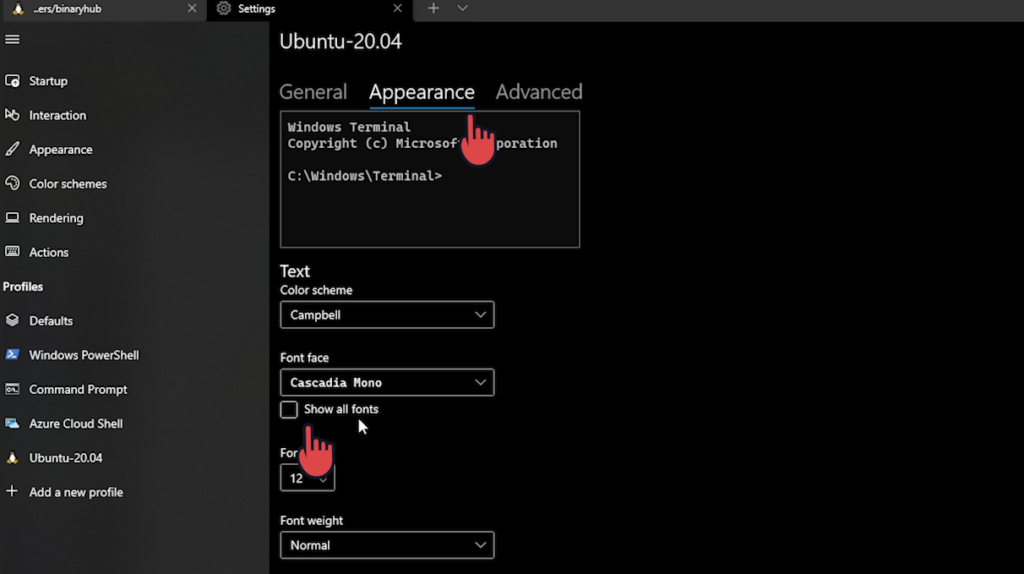
Next click on Appearance and check the Show all fonts. Once checked, select the Meslo font from the dropdown and click Save. Here we can also make the font smaller if it bothers you. I personally like it smaller.
Once the font has changed, reopen the terminal and voila: the icons are available!
Proceed answering to the configuration questions to get the terminal looking and feeling exactly the way you like!
As last step, make sure to confirm Apply changes to ~/.zshrc.
The result of our new theme configuration is:
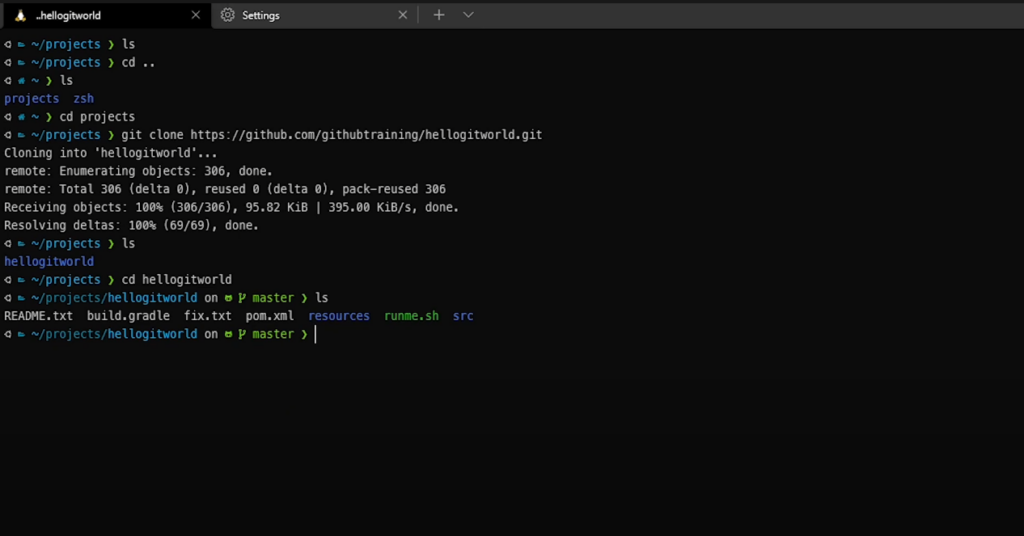
We have icons, nice colors together with git information whenever we are inside a git project.
5. Install Oh my Zsh Plugins
Plugins for our terminal enhance our experience with it. There is lots of options to choose from and you can configure which plugins to use for your terminal by editing your zsh configuration file:
vim ~/.zshrcScroll down to plugins. You can add as many plugins as you want, separated by a space:

I am a javascript fullstack developer myself and the ones that I think you can’t miss are:
- git
- zsh-autosuggestions
- node
- zsh-syntax-highlighting
- aws (in case you are using AWS)
You can find the full list of plugins available here. Read a bit about them and install the ones you find useful just by adding them part of your plugins list.
Note: Make sure to read the installation details for each plugin to make sure the dependencies are met. For example autojump needs to be installed on Ubuntu for the plugin to work.
6. Install & Use of Visual Studio Code with WSL2
You can download Visual Studio Code from here.
Once downloaded and installed open and choose the right theme for you. Once opened, click on Plugins and search for Remote – WSL.
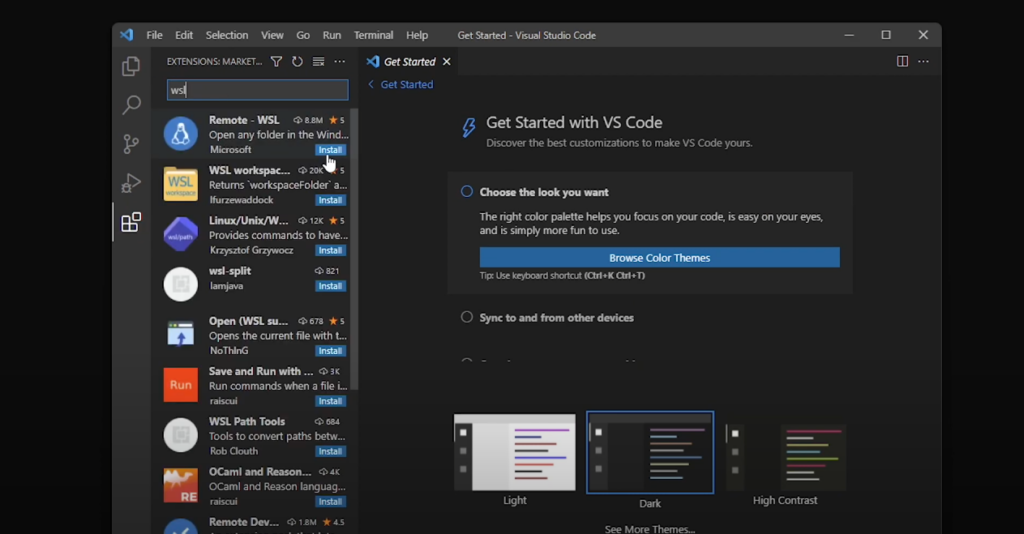
Once installed, reload the visual studio code application.
Notice the remote button in the bottom left hand corner ? That’s the Remote instance of visual studio code which can be used right inside Linux.

Click on it and open a new window of visual studio code that can be used from Windows and runs entirely on Linux. Opening a folder will give you exactly the Linux distribution folder structure.
Thank you for following. If you enjoyed this post, please subscribe to binaryhub email listing to stay up to date with our programming posts. Also consider subscribing to our youtube channel if you prefer to relax while watching.